Sewing & Craft Workshops in Manchester
Ministry of Craft has been teaching Manchester to sew and craft since 2008. Located in Manchester, the Ministry tutors teach a huge variety of fun, friendly and sociable workshops for all tastes and abilities.
Browse our workshops


Featured workshops
-
 Dressmaking Introduction in a Day£100.00
 -
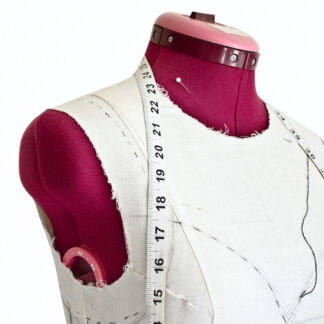 Introduction to Bodice Fitting£75.00
 -
 Fabric Lampshade£45.00
“I’ve absolutely loved the last 3 weeks, something I’ve been meaning to do for years and I’m hooked. I’ve already booked onto another two courses, it’s exactly what I needed. Alison was an amazing teacher.”
—Natalie Hesketh, Facebook review